top of page

Fried Radish (Carrot) Cake


Ingredients:

Cake:

1 medium *radish - grated, 700g approx.

50ml water

200g rice flour*

250 ml water

½ tsp salt


1-2 tbs *preserved turnip/radish (‘chai po’)

2 large eggs, beaten lightly (Vegans -optional)

3 cloves garlic, minced

2 tsp soya sauce

White pepper

Chilli sauce (optional)

Dark sweet soy sauce (optional)

Spring onions, chopped

Coriander leaves - garnish

Method:

1. Mix the grated radish together with 50ml water into a bowl and steam in a steamer for 30 mins or until radish is transparent/cooked. Allow to cool.

2. Mix flour with salt and water together and then add to cooled radish.

3. Mix well and put into cake tin for steaming for 40 mins.[You can also baked it in an oven with steam from a tray below].

4. Allow to cool. Best to put in the fridge overnight as it facilities handling and cutting.

5. When cooled, cut the cake into rectangles of medium thickness.

6. Pan fry the cake with a little oil in a non-stick pan followed by garlic and chai po. Fry till fragrant. Add a little oil if too dry.

7. Add soy sauce, pepper (and chilli sauce, sweet dark sauce) and fry to coat evenly over the cake.

8. Pour beaten eggs over the cake and leave to set before turning over.

9. Served immediately with spring onions, coriander leaves and extra chilli oil if desired. ENJOY!


*You can find these items in the Chinese store.

2 views0 comments

Updated: May 6, 2021

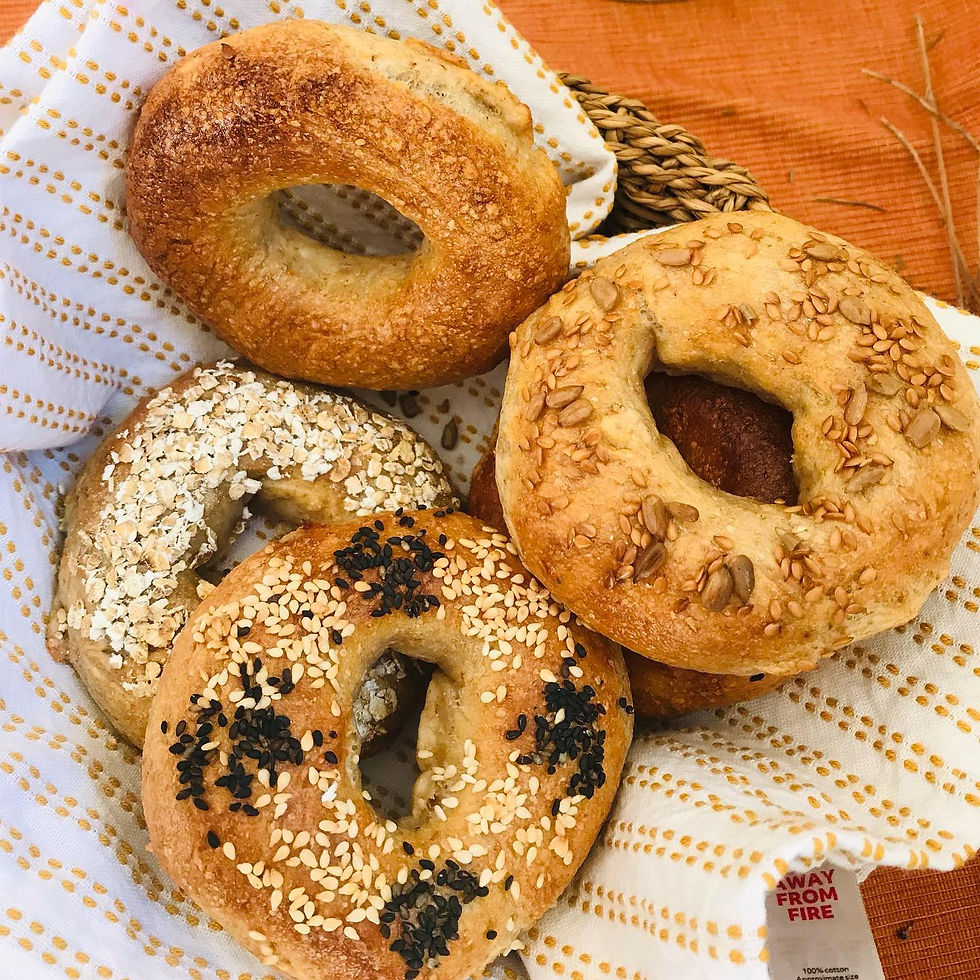
Nice & crunchy is what you want for your delicious morning bagels!


BAGELS

(adapted from @badbakingbabe)

Ingredients:

150g Sourdough surplus

400g White bread flour

100g Whole wheat flour

200g water

10g salt

0.5 tsp baking powder

1 tsb sugar


Toppings: (OPTIONAL)

White & black sesame seeds

Linseeds

Sunflower seeds

Oats

Method:

1. Mix the flours, sourdough surplus, water and salt together and knead by hand or stand mixer till you get a smooth pliable dough. [Tip: If dough appears sticky, add more flour, in 10g increments till it’s non-sticky.]

2. Knead for 10 mins till it’s smooth and round off in the bowl. Rest for 30 mins.

3. Divide dough on floured surface into 9 pieces of 95g each and shaped into balls the way you would with boules.

4. Poke a hole in the centre of each ball and enlarge the hole to about 5cm (2 inch) diameter using your fingers to shape it into a ring. (see video on my instagram account).

5. Arrange the pieces on a greased tray, spaced at 2 cm apart to allow for the growth in size (see picture) as they proof for 4-8 hours in a warm place.

6. When proofing is done, prepare a boiling pot of water, add sugar and baking powder.

7. Carefully lift one uncooked bagel and slowly put into the boiling water till it floats up. After 20-30 secs, drain it with a slotted spoon and cool. [If you have a bigger pot, you can put in more bagels at one go.]

8. Do the same for all the other bagels.

9. Meantime, preheat the oven to 230 deg C (220 deg C for fan ovens).

10. If using toppings, arrange seeds in a bowl and coat each bagels on one side and then place them in a greased tray, seeded side upwards, spaced a little apart.

11. Bake for 20-25 mins till golden brown. ENJOY!


5 views0 comments

Updated: Aug 25, 2021


Basic Sourdough Pizza

Ingredients:

160g sourdough surplus/discard

160g bread flour

½ tsb salt

2 tsb EVO oil

Tomato sauce (or gochujang if you want spicy)


TOPPINGS: (add more of your own choice)

Mushrooms, sliced

Bacon or Ham

Cherry tomatoes, sliced

Mozarella cheese, cut/tear into 2 inch pieces


Method:

1. Mix all together and knead till you get a smooth pliable dough.

2. If dough is sticky, add some flour, say 50g for a start and knead till dough becomes non-sticky.

3. Rest for 30 mins.

4. Preheat oven to 230 degC and Dutch Oven if using.

5. When ready to bake, place dough into a greased 8 inch diameter tin.

6. Press the dough into tin and brush with oil.

7. Stab the dough with a fork so it does not expand.

8. Pre-bake for 7 mins with no toppings.

9. Remove bake from oven, spread with tomato sauce and add toppings. Bake till cheese has melted. [Tip: for toppings that requires more cooking time, put the cheese after these are half done so the dough doesn’t get too crispy].


11 views0 comments
bottom of page